In this blog post, we are going to clean the dust of a laptop that was released in June of 1989. It came with an 8088 at 10MHz, 640kB of RAM, a double density floppy drive and a 20MB hard drive.
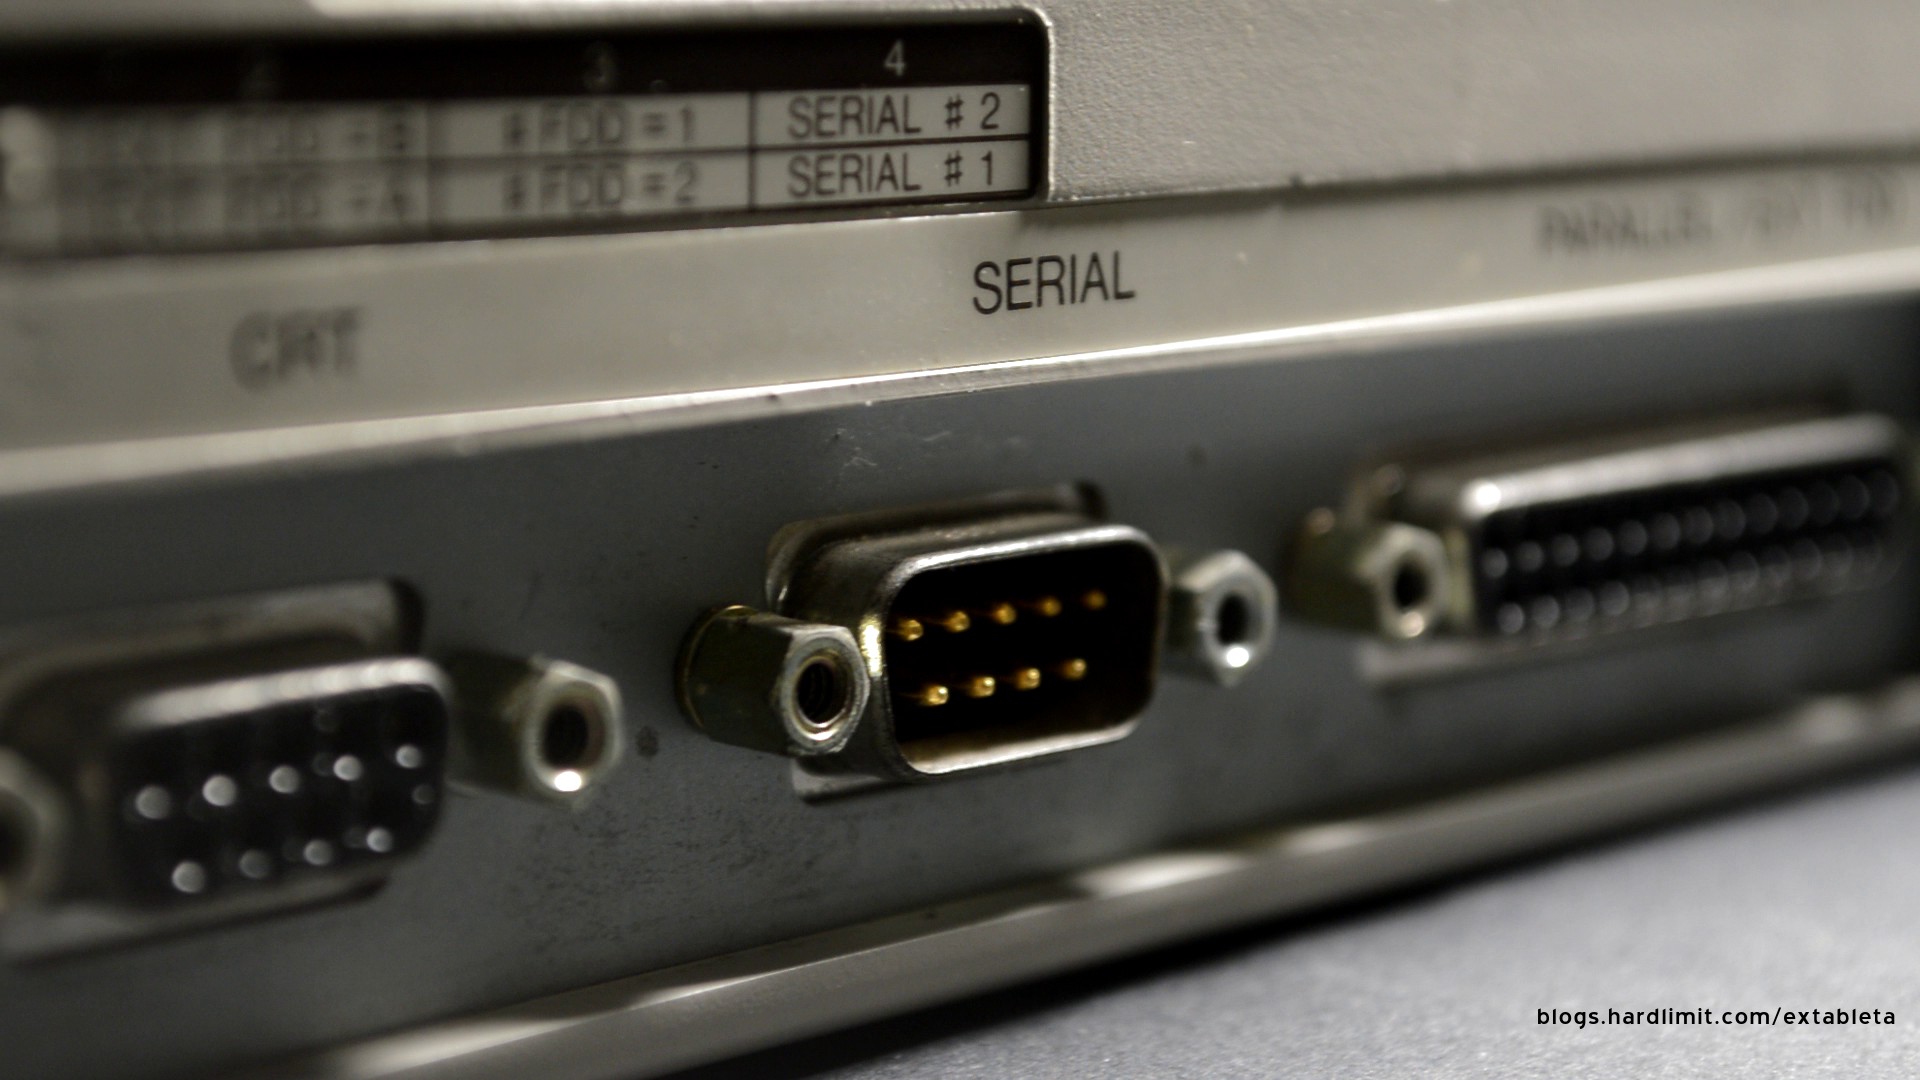
Let’s look at the the outside. In the rear side, we find the typical ports of that time: a parallel, a serial and a CGA CRT screen port. On the left, we see switches to configure the parallel and serial ports and the floppy drives.
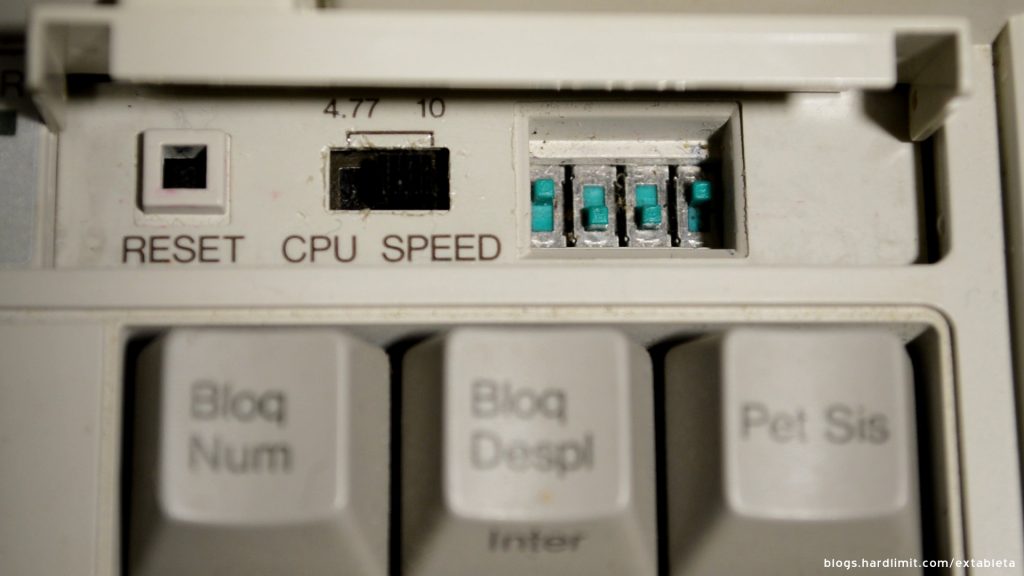
At the front, just above the keyboard, we find some switches behind a tap. One of them let us choose the CPU frequency. The others are intended to set-up the screen.
Let’s go back to 1989 while we take a look at what’s inside. It’s debut year of the 486 and we have nothing less than four generations of CPUs. During this time, we can buy PCs with the 8086, the 2, the 3 and the newcomer 486.
Each step means a huge improvement. It’s not just the decrease of the gate size, but also the increase of the transistors count and the increase of the clock frequency. Furthermore, in less than a decade, the width of bus has increased from 16 to 32 bits.
If we look at other developers, we find that the famous Motorola 68000 and MOS 6502 are found inside game consoles of the mid and late 80’s. At this time, we find the richest hardware ecosystem in personal computing.
Now, it’s open. Let’s see to what it has inside.
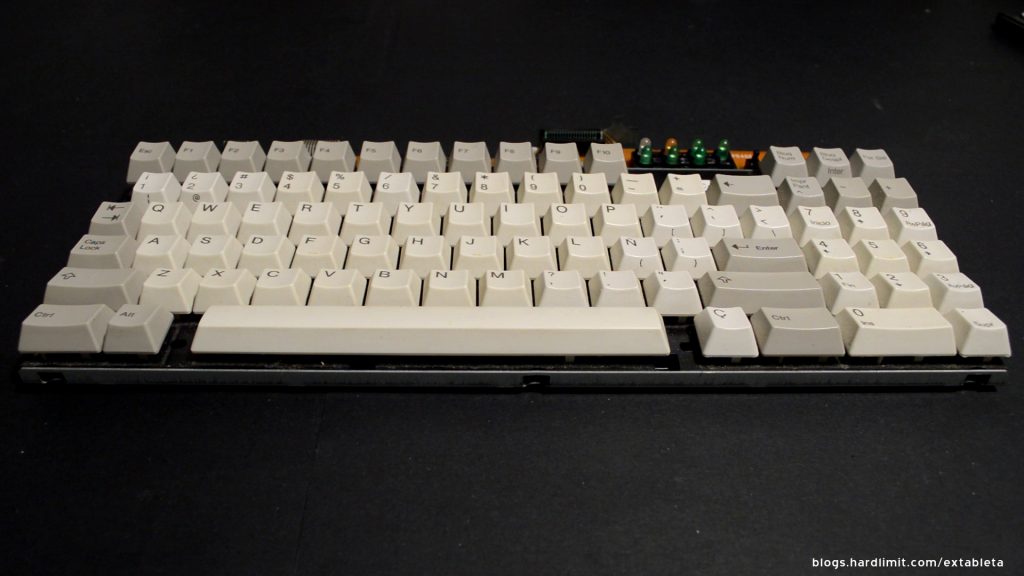
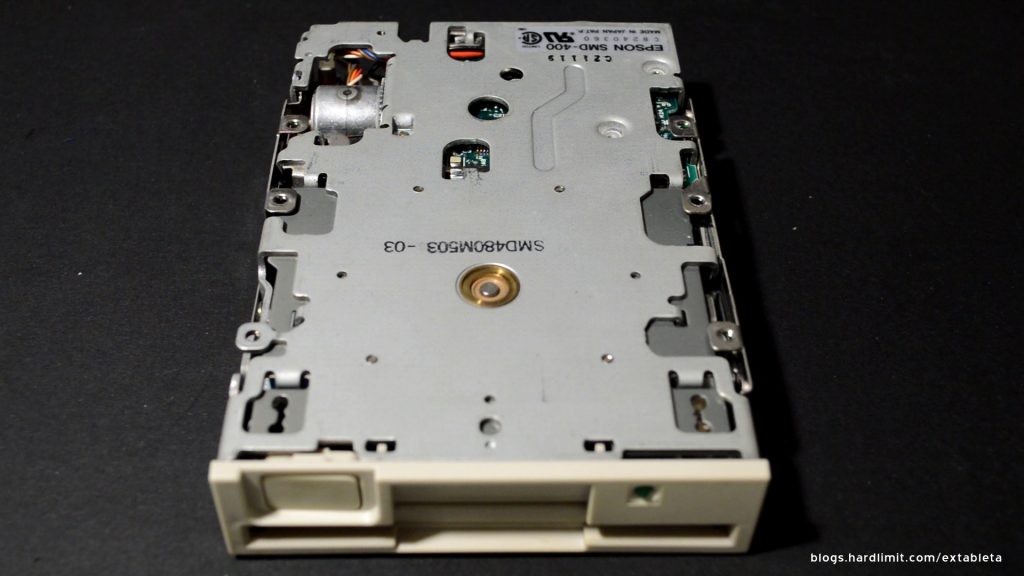
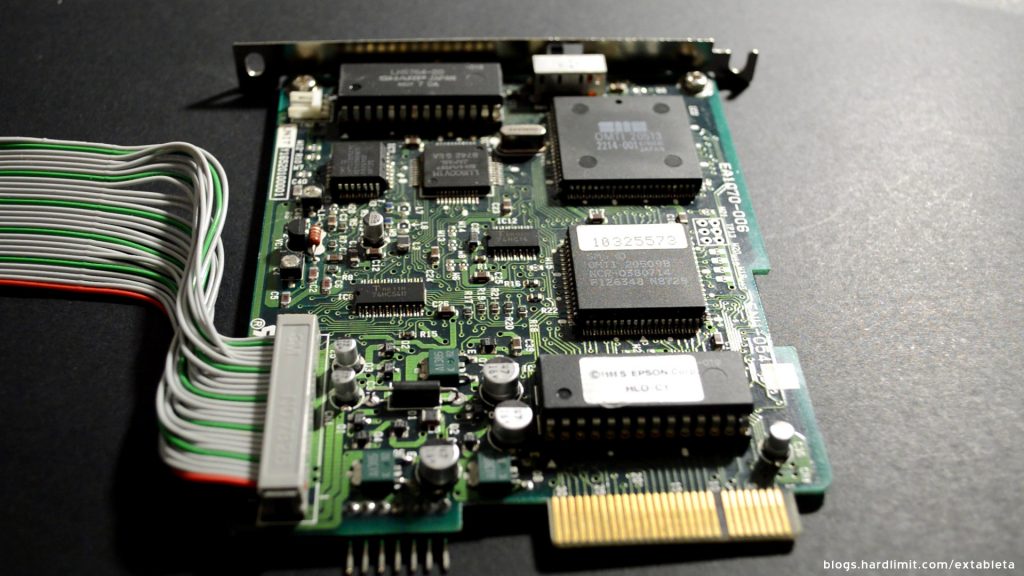
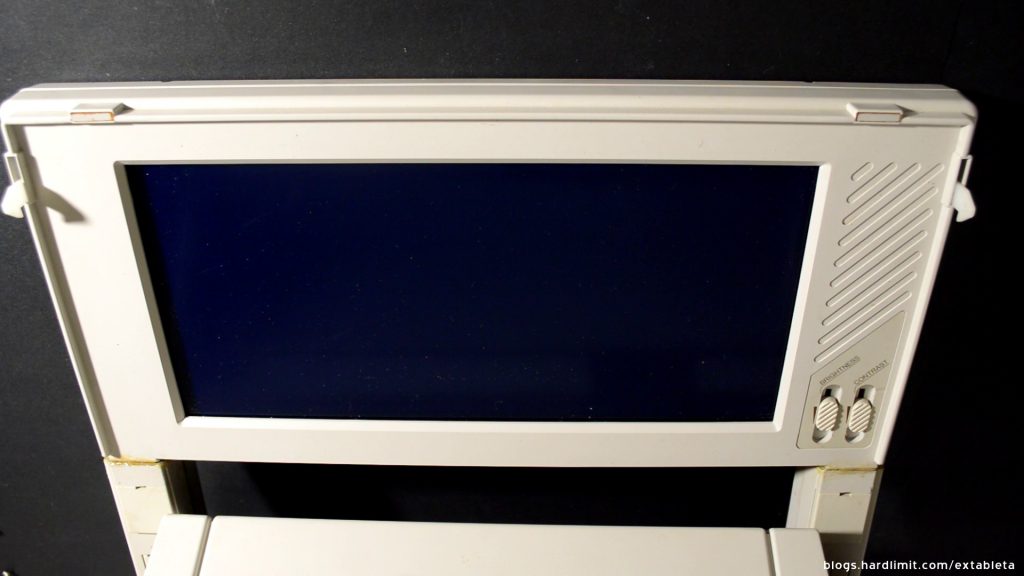
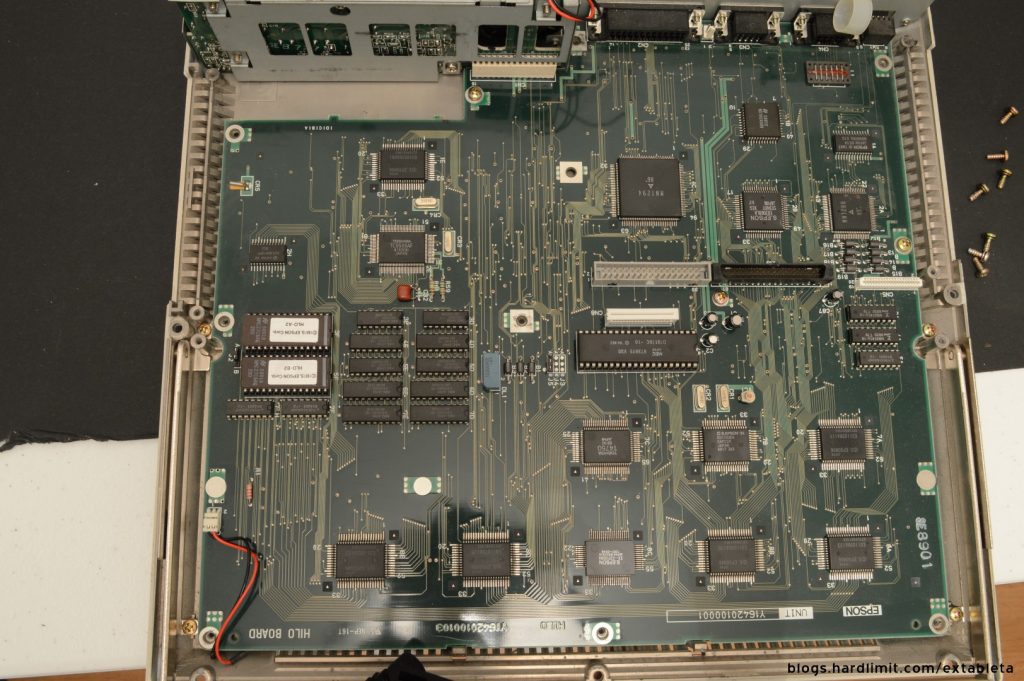
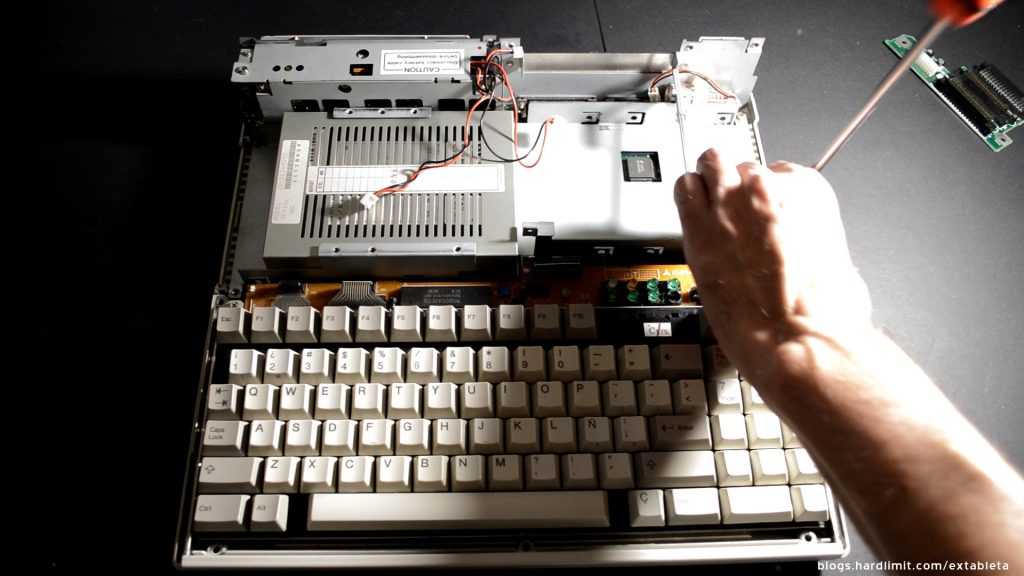
Here we have a keyboard, a 3.5″ double density floppy drive, a 20Mb hard drive, a hard drive controller, a STN monochrome screen with 640×200 pixels and a motherboard.
On the motherboard we find the graphic controller for the LCD screen, the CRT controller, the 16kB graphic memory, the serial port controller, the floppy drive controller, two EEPROMs for the BIOS, 640kB of RAM in 6 chips of 64 and 128kB, the chipset for which I didn’t find any information and the 8088.
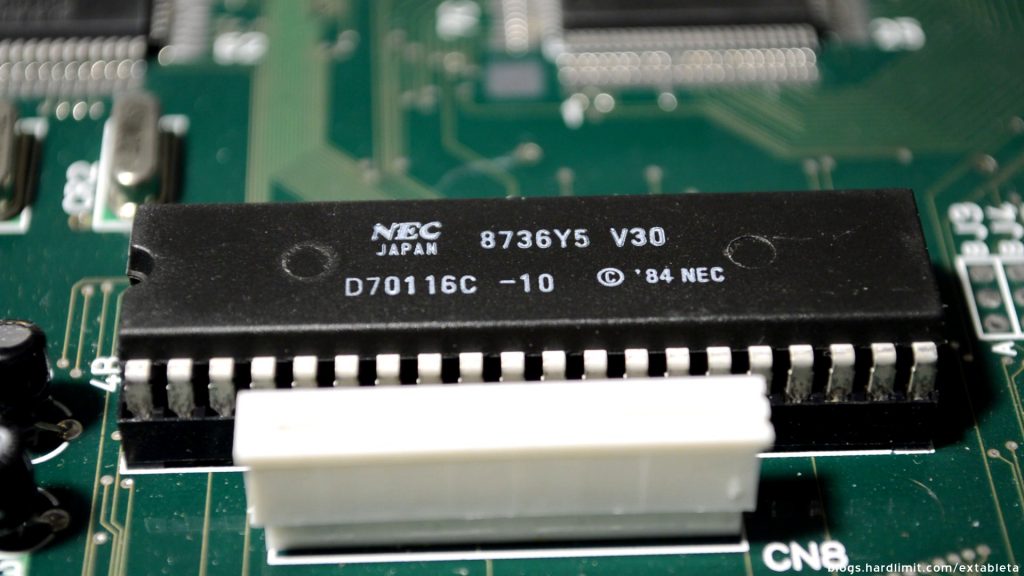
Actually, it is a NEC V30, a reverse engineered CPU that running at 10MHz, is able to give up to 30% more performance than the Intel’s CPU.
Now, we are going to turn it on after almost two decades of not being used.
When we turn it on for the first time, a warning message shows up saying that we have to use the DIAGNOSTIC disk in order to setup the computer. Probably it happens because the CMOS battery is dead. As always, all specific software we use will be available in our museum.
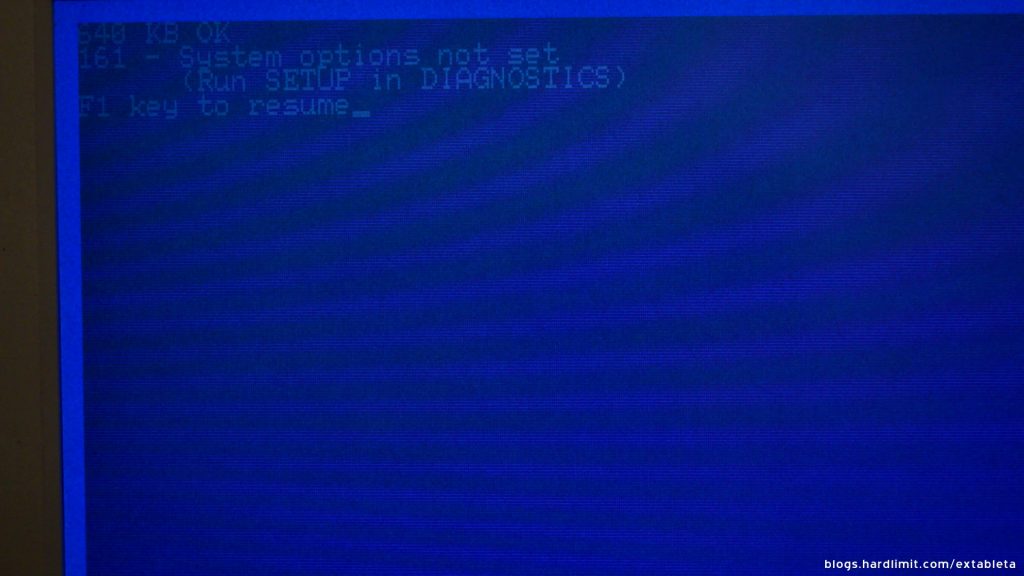
At a first glance, because the BIOS configuration was erased, the system doesn’t recognize the hard disk controller, so before running the setup program, we have to boot MS-DOS from a floppy disk. I used a high density disk. I put a sticker on the hole that defines the disk type and then I copied a MS-DOS image with a USB floppy drive. But it fails to boot up.
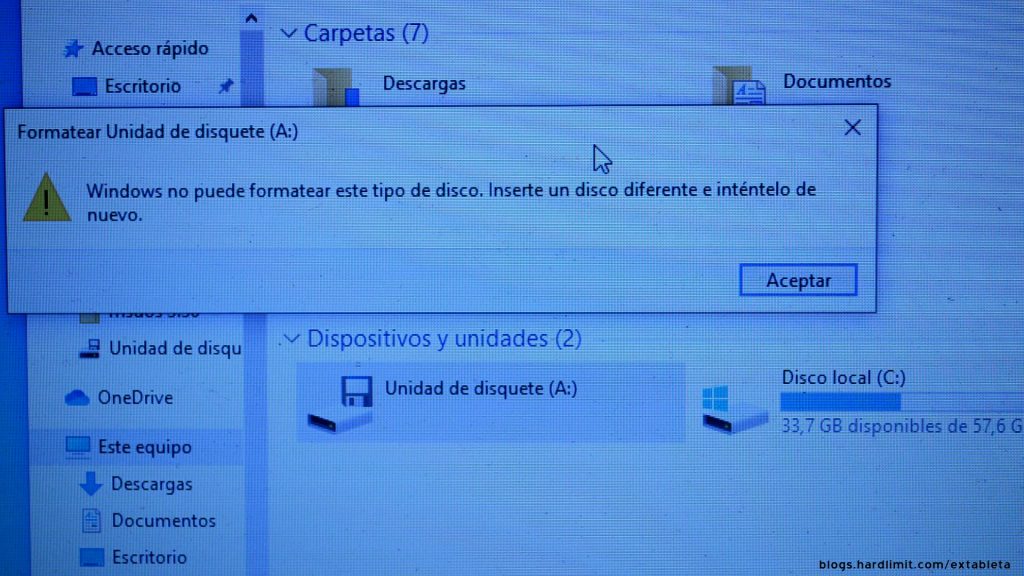
I’ve read that not all USB floppy drives are compatible with double density disks. In fact, I had issues when I tried to format the disk in Windows 10.
I’ve tried using the floppy drive of a Pentium II with Windows XP, but it didn’t work either.
Maybe the problem is that the PC Portable’s double density floppy drive is unable to read high density disks because it has a different coercivity. Since I don’t have a double density floppy disk in here, and I am not too sure whether this drive works or not, I decided to take an easier, but less interesting path which is to change the drive for a high density one.
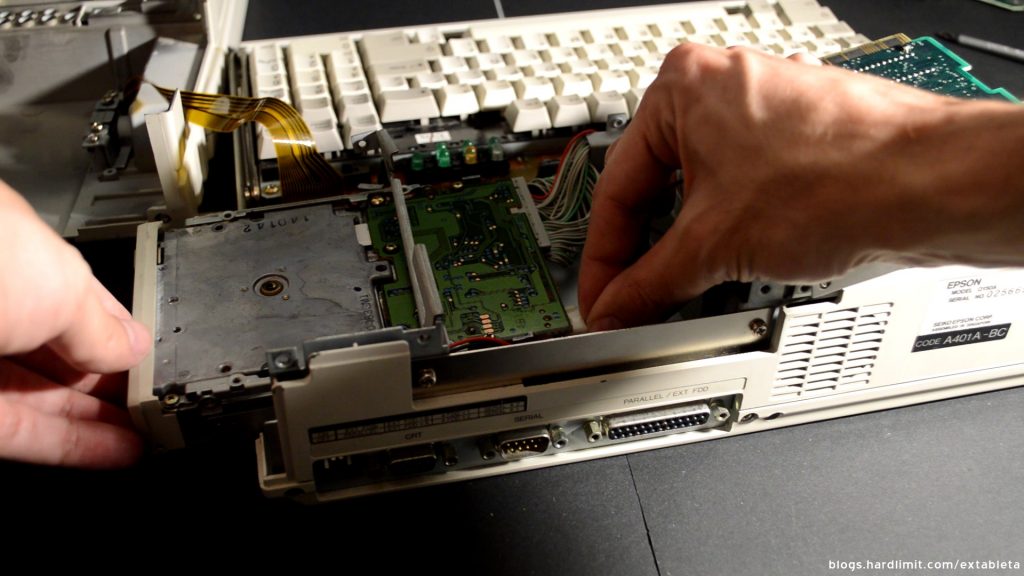
The change was a little bit intricate because the bus cable that connects the drive with the motherboard is too short, and this specific drive has the connector in the other side. At the end, I installed it as I could just to perform the tests I wanted.
At this point, it is possible to boot DOS. When I run Epson’s setup program, I can only configure the date and time, backlight time and serial ports parameters. I don’t see anything related with the hard drive though.
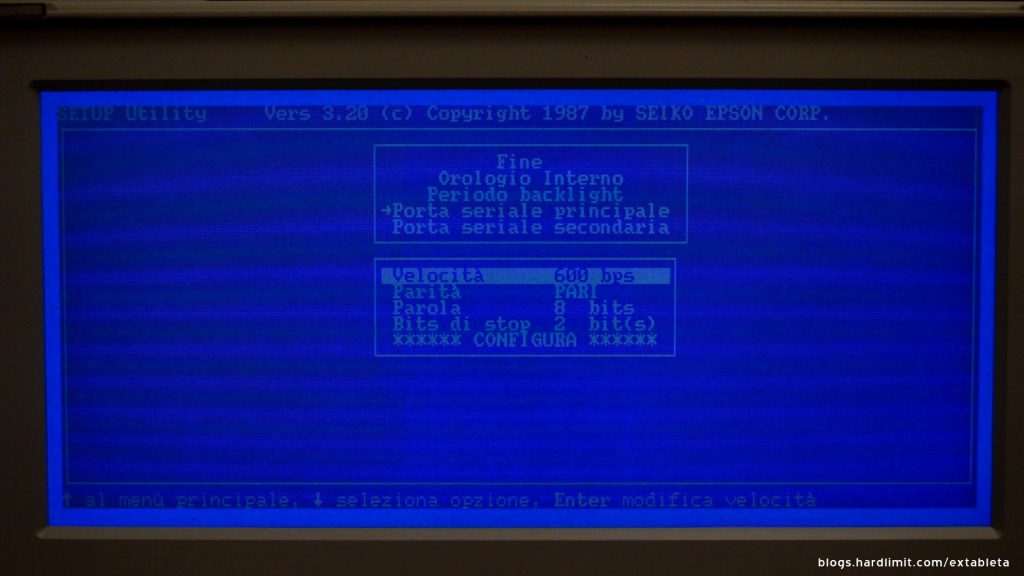
Whatever it is, I saved the configurations and apparently the error message doesn’t show up anymore but the hard drive still doesn’t work.
To be sure that this is not a format detection issue, I run FDISK but it doesn’t detect a hard drive. At this point, I have to open the computer again to check if the hard drive controller and the hard disk are properly connected.
I turned it on while it was opened and I realized that the hard disk wasn’t spinning. The PC has been working for several minutes with the plates stuck and I noticed a burning smell, so this is not good.
It is not the first time it happens to me when trying to use a hard drive from the 80’s that has been not used for several years. In different occasions I fixed it by pushing the axis with a screwdriver so I’m going to try that.
The hard drive comes in a metal case so to push the axis, I have to take out the drive first. So I have connected the controller to the disk, I powered it on and with a small screwdriver, I pushed the axis to help it spin. The plates where really stuck but finally it worked.
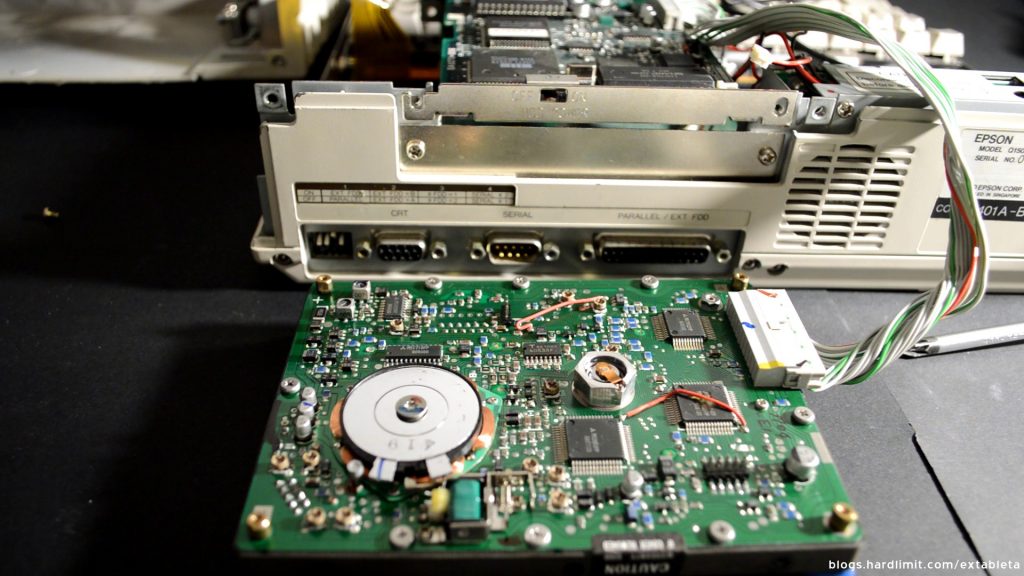
For a few minutes, I hear a strange noise and its probably coming from the axis friction. Other than that, everything appears to be fine. Once the computer is rebooted, it still doesn’t detect the hard drive.
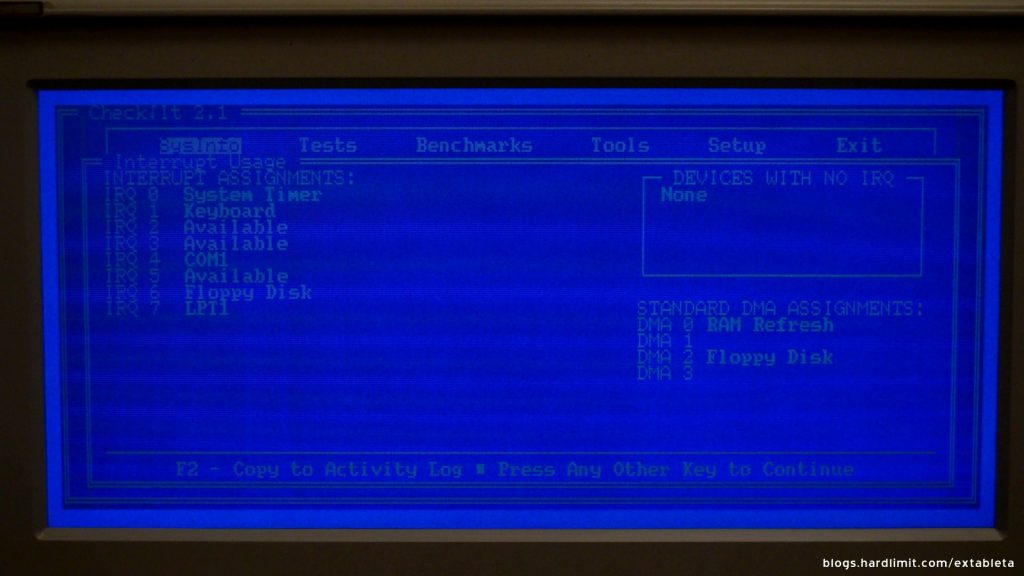
I tried CheckIt, a diagnostics tool that helped me identify the interruptions. The 8 bits bus of the 8088 is able to manage 8 interruptions. The hard drive controller should be in the interruption number 5 but there is nothing in there. At this point, we likely have a hardware failure.
Before giving up, I tried 16 reference disks from different Epson’s models because the one I used, didn’t have any configuration related to the hard drive. However, none of them worked. To finish with this, I’ve tried a tool intended to setup the BIOS of PC XT machines but it was not compatible with this Epson PC Portable.
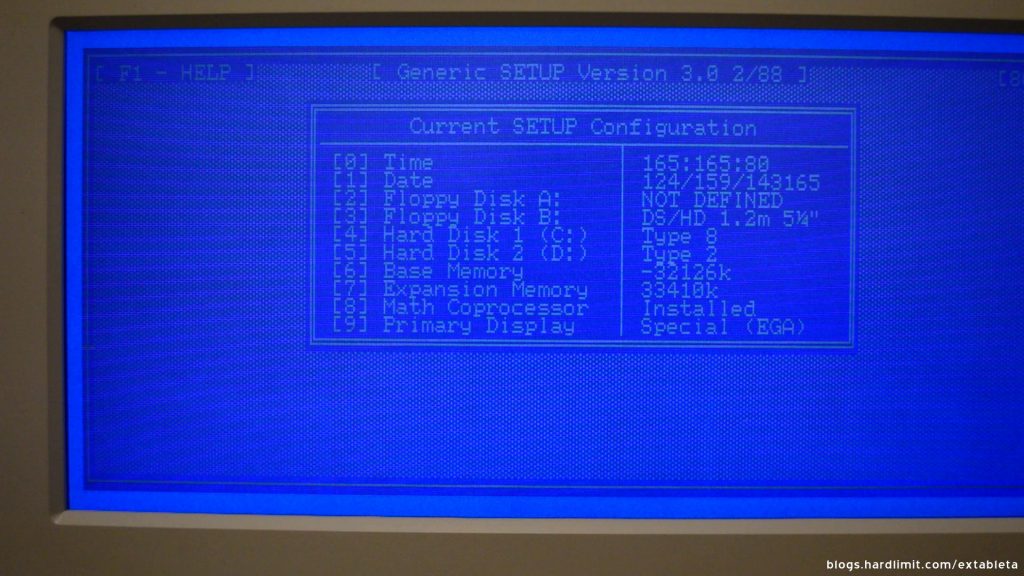
This laptop has more than 30 years and it hasn’t been used for almost 20 years. The failure could be in the controller, the bus cable, the hard disk itself or any other piece of hardware. I actually think it’s a big pity; who knows the treasures we’ve lost.
During this time, having a hard disk gave us convenience instead of functionality. There are certain things we won’t be able to try out, but it is not a critical loss. To finish with this part, I’ve decided to convert the laptop to the version without hard disk and with two floppy drives. I just had to remove the hard drive controller and add a second floppy drive. From now on, I think we can begin.
MS-DOS 3.30
In this PC it is possible to use more recent versions like MS-DOS 6.22. Nonetheless, we are going to be accurate to the time we are. The PC Portable came with MS-DOS 3.20.
Despite the fact that this version comes with tools focused to use a hard disk, it doesn’t have an installation program. That doesn’t mean we cannot install it. It’s just means, we have to do it manually.
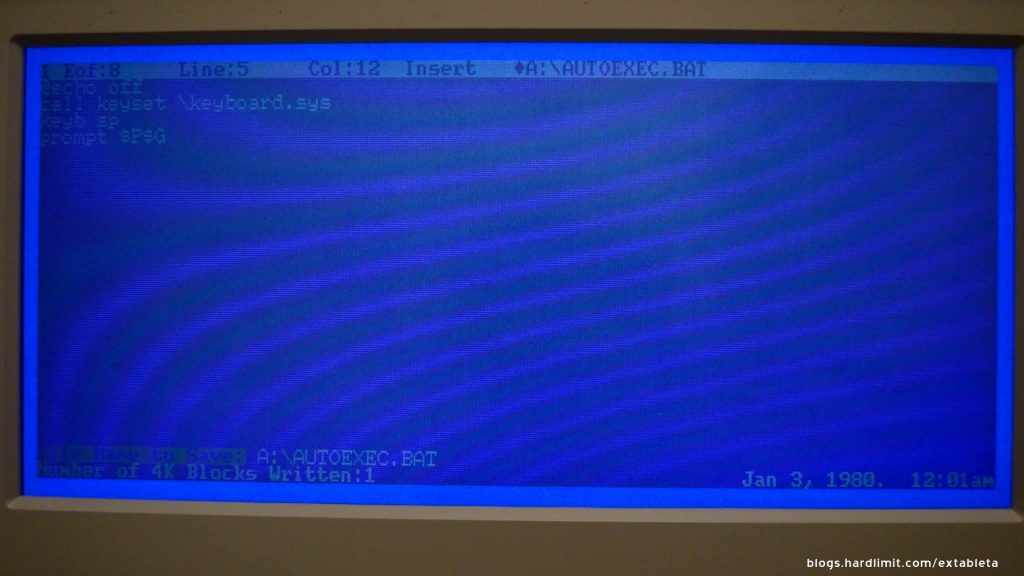
We are going to set it up. Since we have just the basic hardware, we’ll configure the keyboard layout and the prompt format.
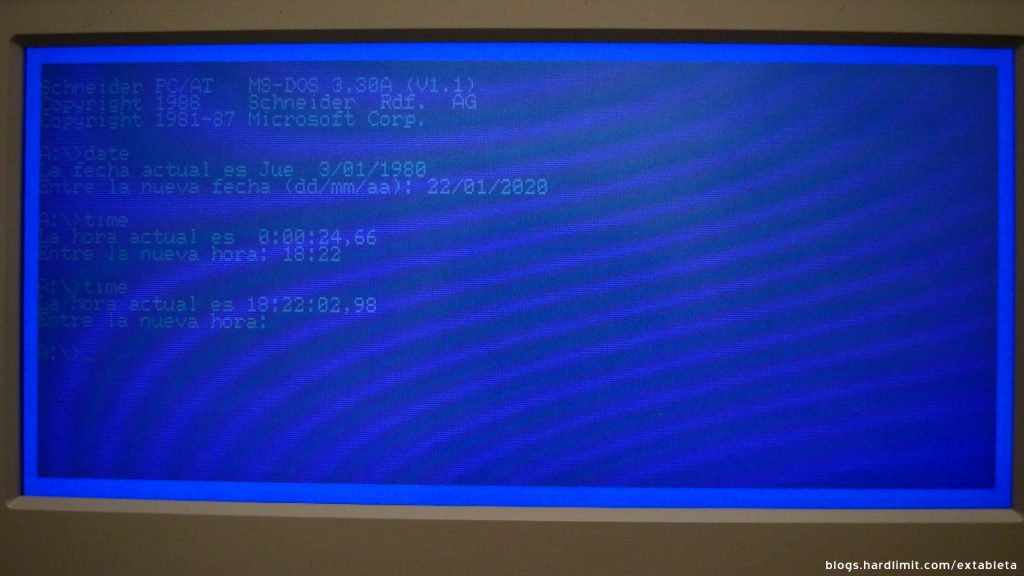
Once it’s ready, let’s hear how MS-DOS boots in a computer without hard disk and with two floppy drives.
It was rare to find a PC in the late 80’s and early 90’s without WordPerfect 5.1. Probably, this was the most widespread version.
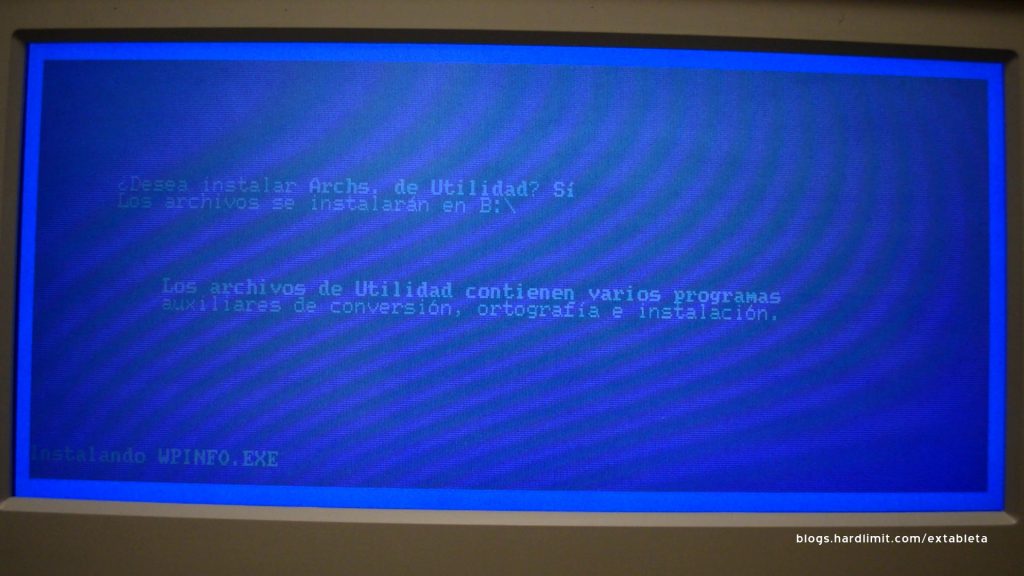
The installer allows it to install it either in a hard drive or in several floppy disks. To have the full features, we need 10 formatted floppy disks.
Once the installation proccess begins, it is possible to select which components to install, so I decided to choose just the basic options.
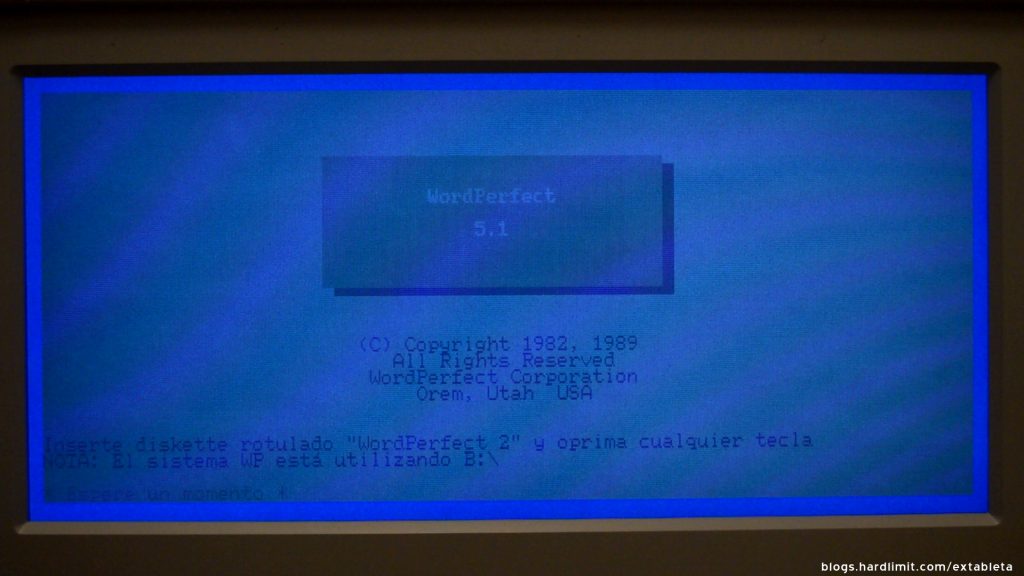
It is amazing to see that it’s able to show three grey levels: white, black and a whiteish color. Probably, it is taking advantage of the CGA’s intensity signal. In any case, the screen’s poor constrast makes us see that a monochrome setting would have been better.
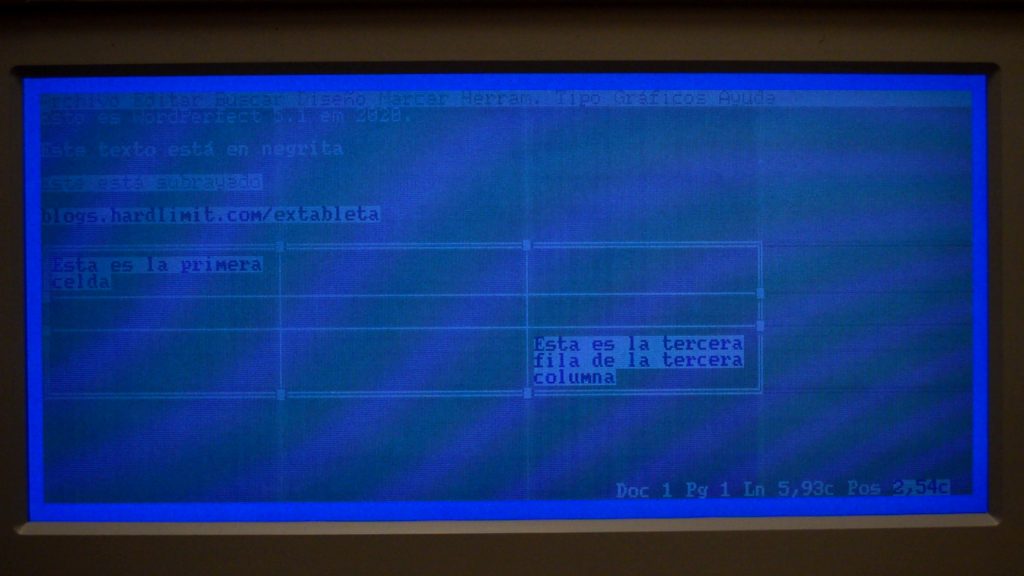
One of the great things about WordPerfect 5.1 is all the functionality it has using the text mode for almost everything. When I used it in the early 90’s, I just knew how to do the basics: text formatting, creating tables, printing and not much more. Most of the function keys were an enigma for me.
Moving on to games, we are going to try one of the best games of all time.
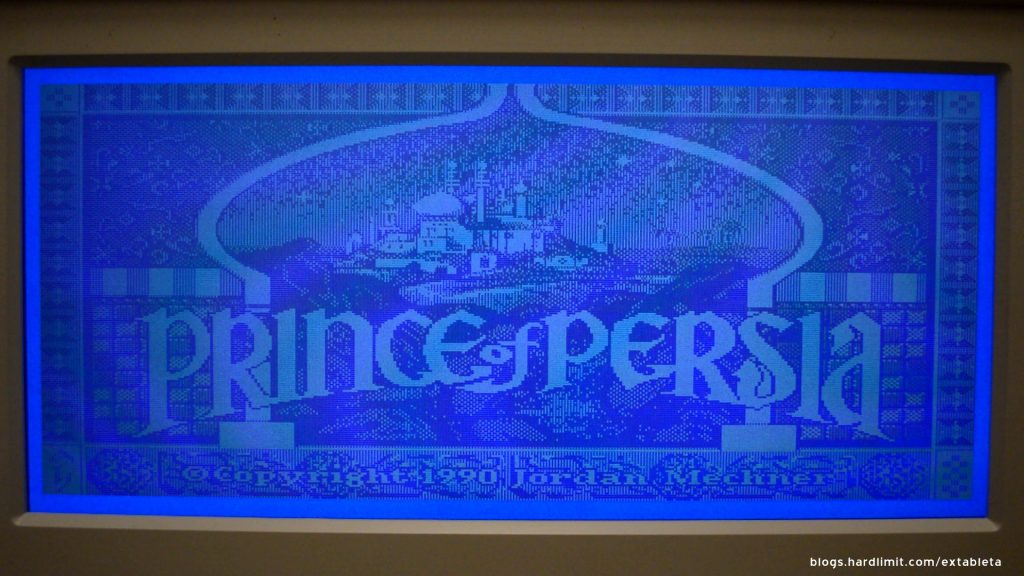
Prince of Persia was released a few weeks after the PC Portable. Unfortunately, it was only available for Apple II. A few months later, however, it became available to PC users too.
During the development phase, it’s author, Jordan Mechner, recorded videos of his brother performing acrobatics in order to use them as reference for his animations.
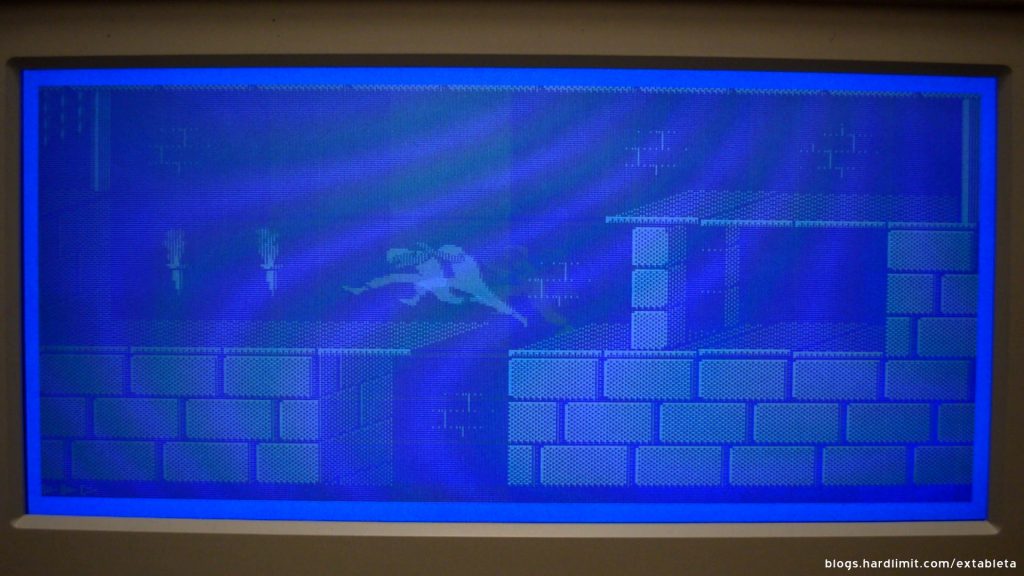
The result of this development, that took almost four years, was a technical wonder. The animations were the best of the game. Although this PC only shows monochrome graphics, we can appreciate them in all it’s glory. The game takes 500kB and was one of the greatest of the 16 bits era.
Linux
When the first version of Linux came out in 1991, it required at least a 386. In 2012, the 386 support was dropped and since then, it is required to have a 486. Because of that, it would be absurd to use it in an 8088.
Fortunately, there are talented people that have decided to donate their time to create and maintain a niche operative system like ELKS. This project is intended to create a Linux-like kernel that is capable to run in an x86-16bits CPU with a limited amount of RAM.

The first step is to compile the compiler. We are going to use GCC-IA16, a GCC port for x86-16bits CPUs. Once it is compiled, we have to compile the kernel.
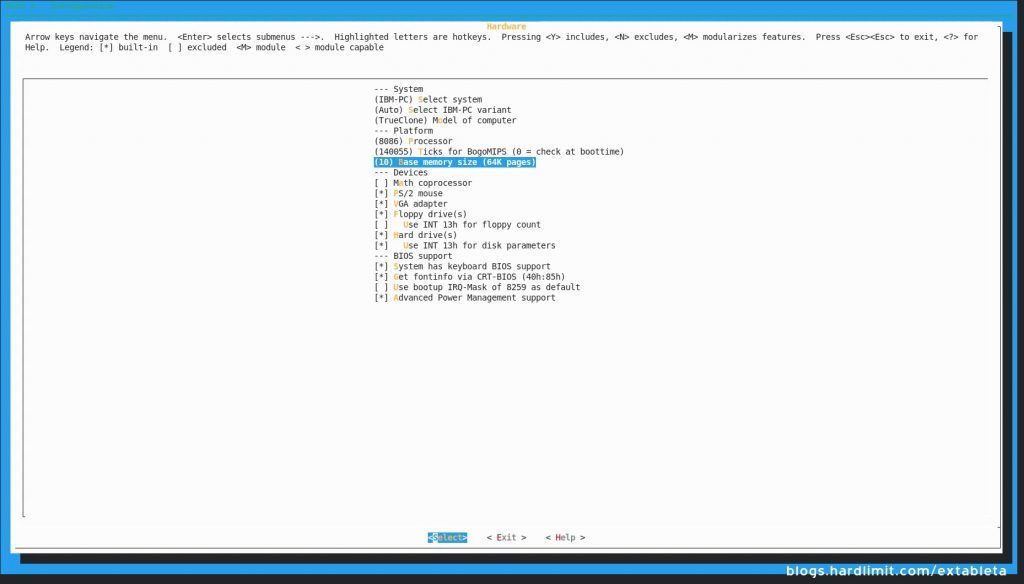
The ELKS community created a tool that allows us to customize the disk image. Since we are going to use a 720kB disk, we have to choose the packages carefully. We left out all default options except the amount of RAM available. Furthermore, the majority of software packages were disabled.
Once we have the image and we write it on a floppy disk, it’s time to try it out.
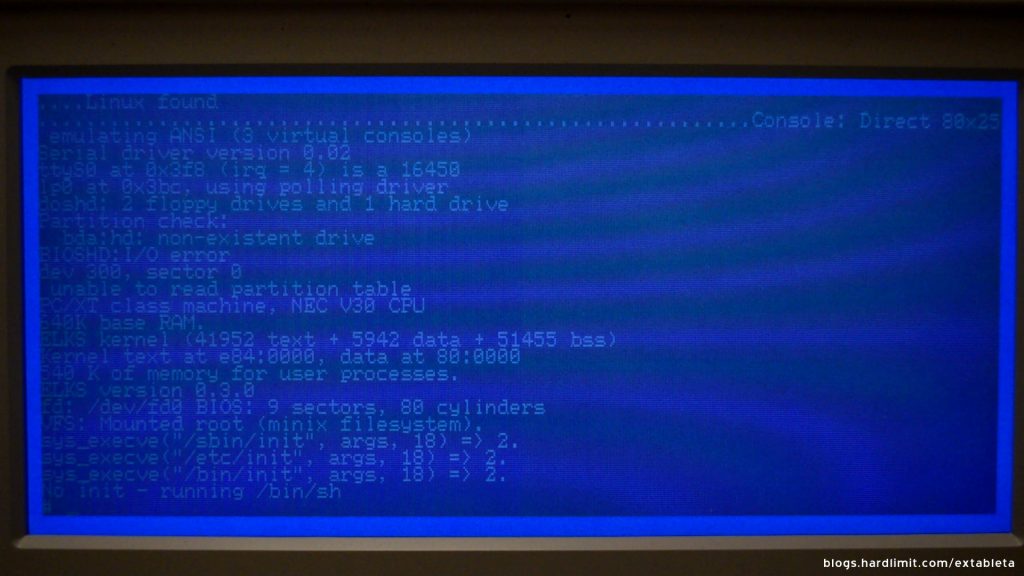
Actually, I’s really impressive to have a Linux-like system running in such a limited hardware. But it’s not only that; we are running an operative system in an 80’s PC that was last updated in April 2020.
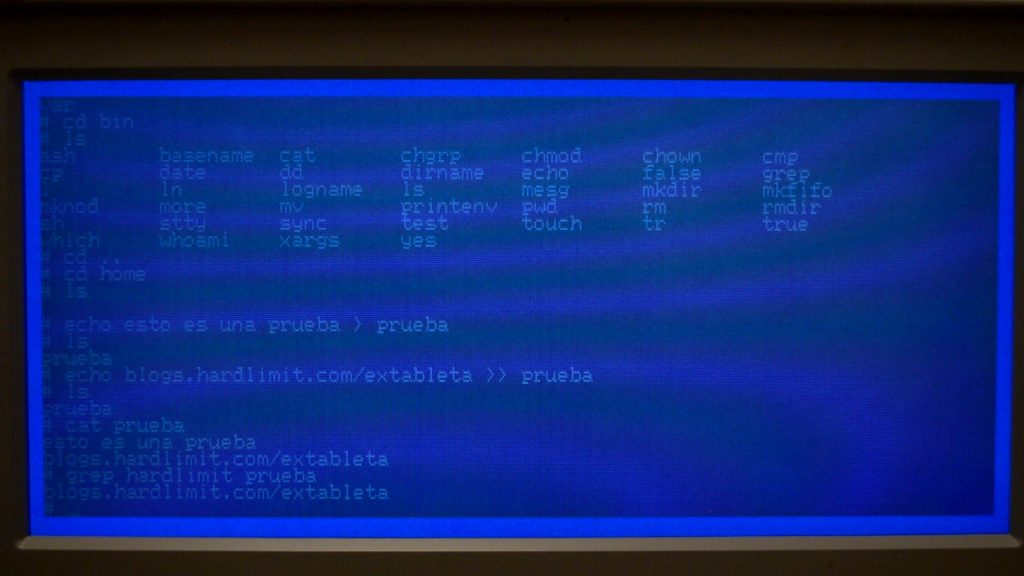
Once the system boots, we can run the standard tools. Since we unselected most of the software, we only have available the commands related with file management.
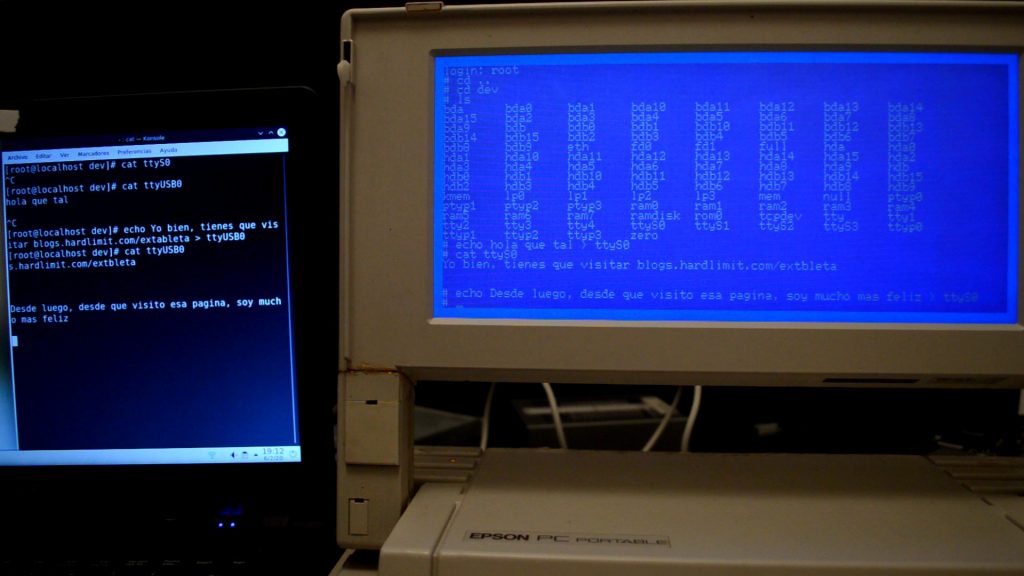
Since this is a Unix-like system, we have the hardware devices available in the “dev” folder. To interact with one of them, we connected the Epson PC Portable to a modern laptop with the last Mageia release thru a USB to RS-232 adapter plus a null-model serial cable. Using basic Linux commands, we can create a primitive chat between both computers.