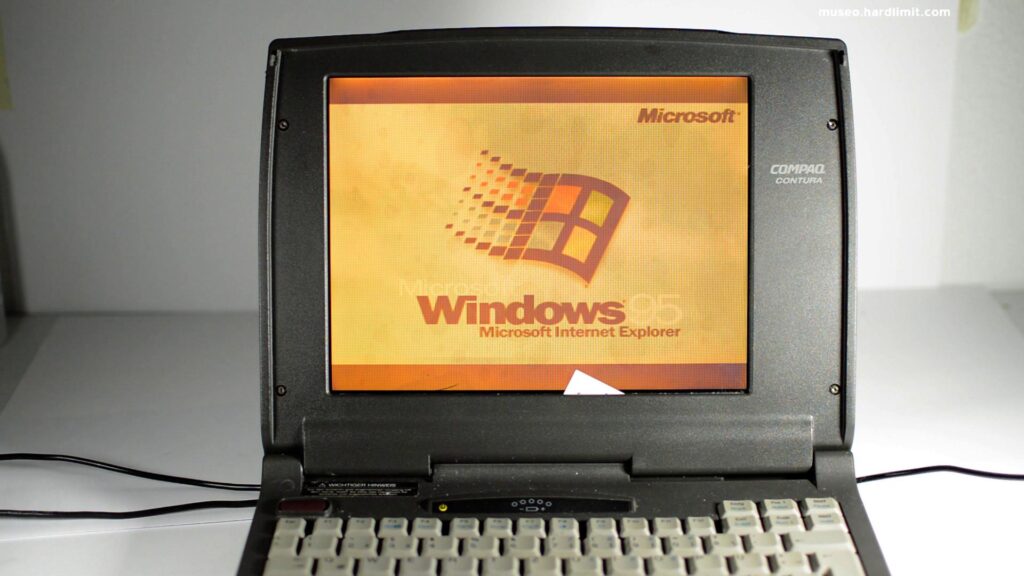
In this blog post, we are going to repair the screen of a laptop that was released in October 1995. It came with a 486 DX4, 4MB of RAM, a 350MB hard disk and a STN 8-bit color screen.
This Contura 420C has been poorly preserved. The plastic has become brittle and the screen suffers from Vinegar Syndrome. When we look at the surface, we see a band in the middle of the screen with bump that doesn’t seem to be a problem. But when we turn the computer on, we see that the screen has become unusable.
In the description of this video, we left a review of this laptop of which you have a link. This time, we are going to try to fix the screen of this 486 to give it a new life.
Vinegar Syndrome is not that unusual in old LCD screens. From the Wikipedia, this Syndrome arises when the celluloid film decomposes. This happens when the film is stored at a high temperature. The name comes from the characteristic odor given off by such decomposition.
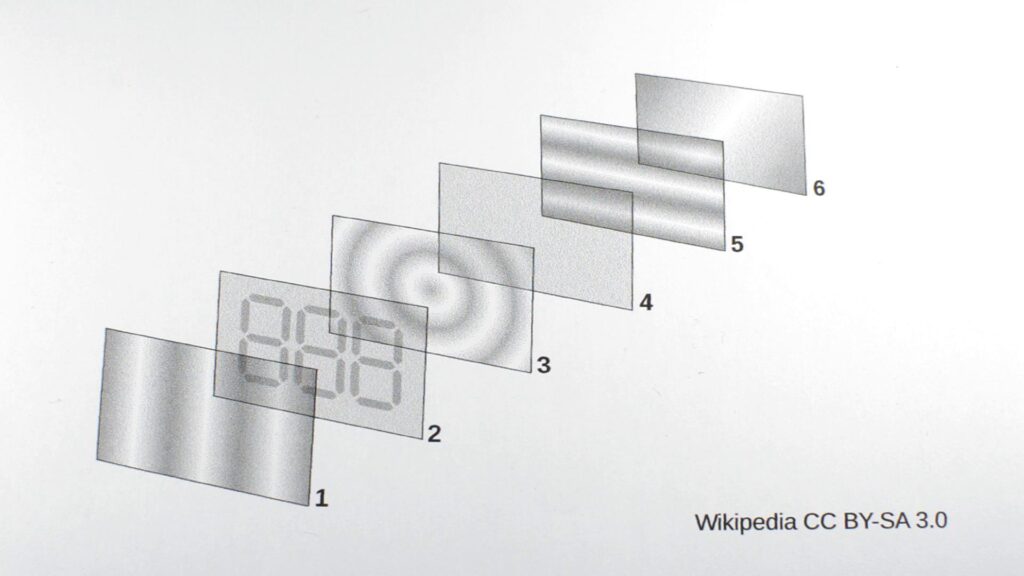
STN screens are made by 6 layers. We are going to focus on the two outer layers: the polarizing filter and the glass substrate. Our goal is to replace the polarizing film which has decomposed. During this process, we must be very careful to avoid damaging the glass substrate.

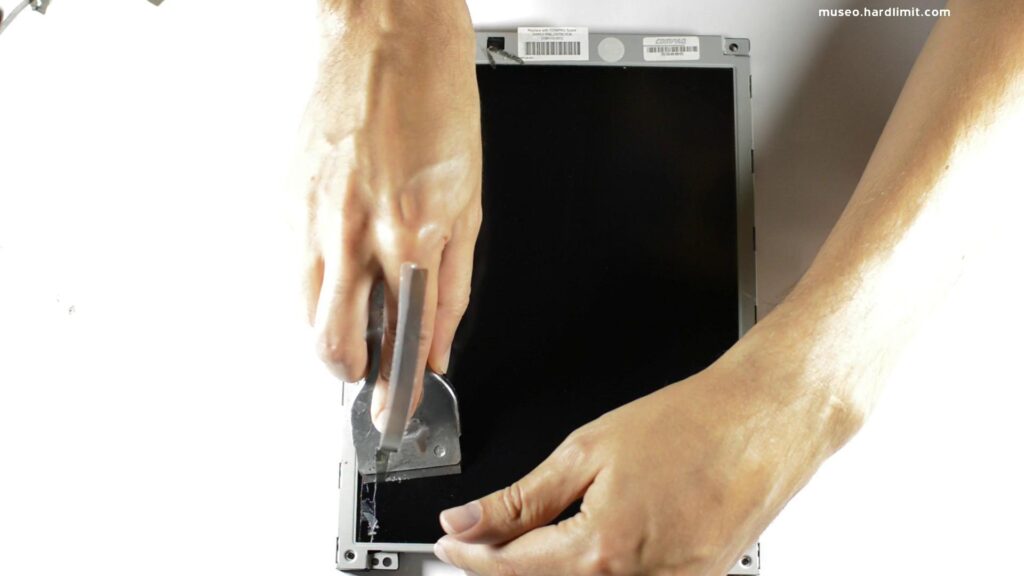
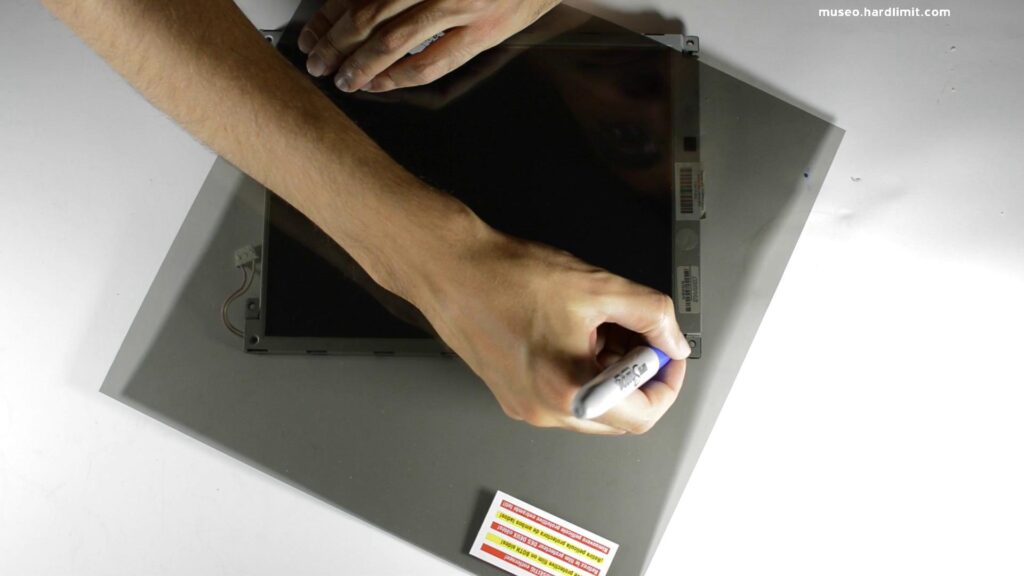
The process has been relatively easy but tedious. First, we’ve removed the LCD panel from the frame. Once it’s out, we’ve made an indentation with a cutter. Using that indentation, we’ve used a razor like the one used to clean the kitchen stove to remove the polarized film. At this moment, the screen has given off a vinegar odor.
By trial and error, I came to the conclusion that the process is divided in three steps. First, we have to remove the old film. Then, we have to scrape with the blade the adhesive until we get a thin layer. Finally, we clean the remaining adhesive with acetone. We could rotate between steps 2 and 3.
The problem here is that we have to apply a substantial pressure to remove the adhesive so we have to take care not to scratch nor break the glass.
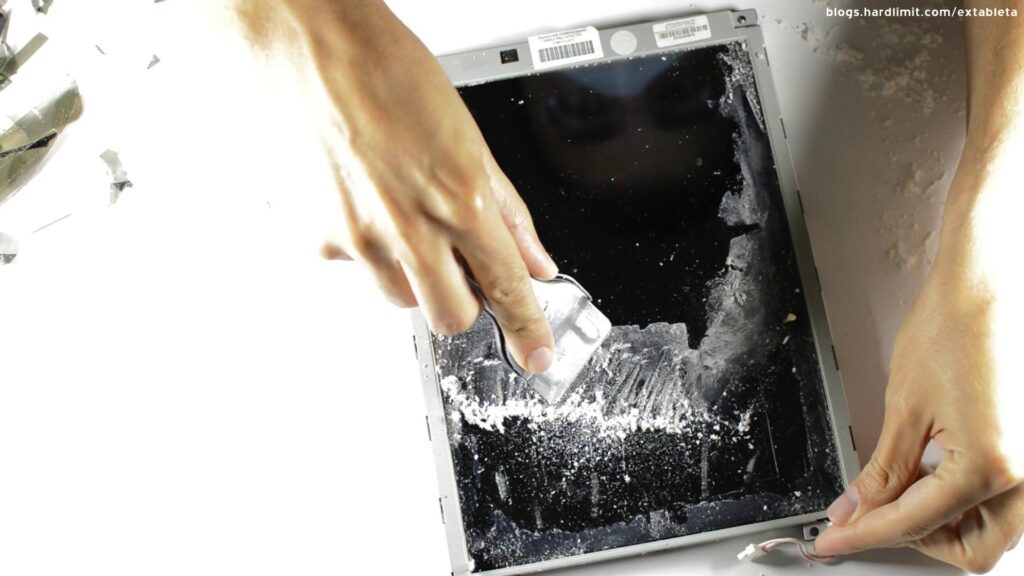
Because of the evaporation of the acetone and the gas coming from the decomposed film, we should air the room. Furthermore, we’ve used a mask due to the small adhesive particles production.
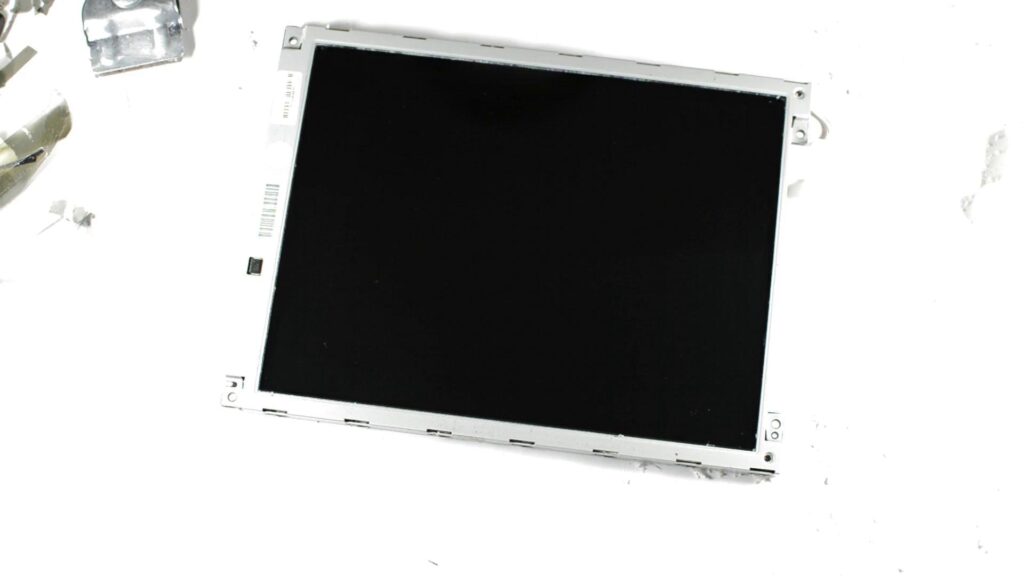
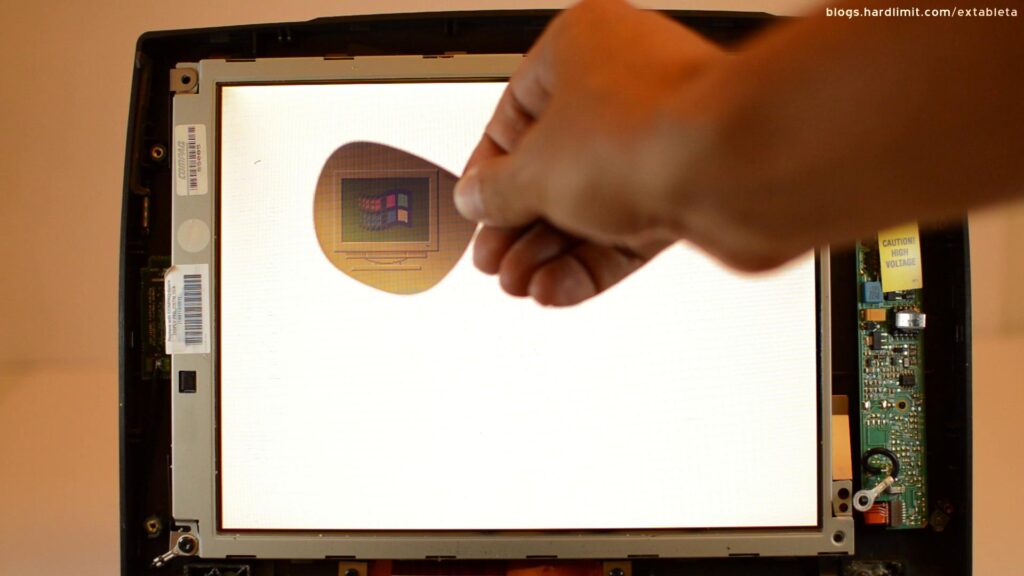
Once we’ve removed the adhesive, we’ve cleaned the surface with ethyl alcohol. To check that the screen still works, I’ve installed it into the frame. Out of curiosity, we can see that the screen is completely white. By using polarized lens from sunglasses we can see the information hidden behind that white light.
We have multiple choices for the polarizing filter. I’ve chosen a 30×30 cm autoadhesive film that comes from Germany although there are cheaper alternatives coming from China. A smaller film would have been enough but since I don’t know the polarizing angle of the screen, I bought a big filter that fits in any orientation.
I have no information about the polarizing plane of this screen so I’m going to rotate the film until I get a good image. Usually we’ll find planes of 0, 45 or 90º. In this case, I get a sharp inverted image.
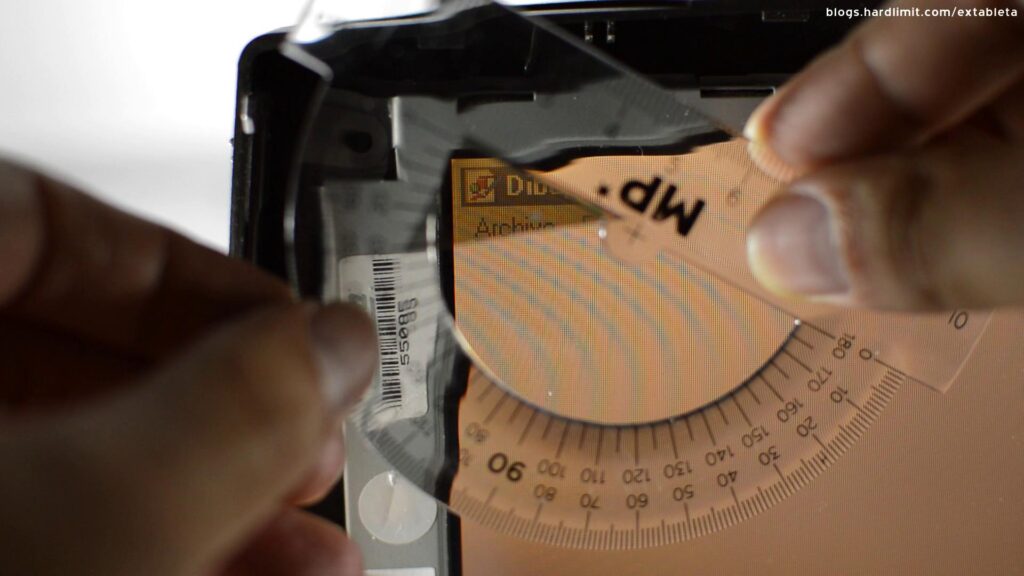
Rotating the filter 90º, I would expect to get the desired image. Instead, the image has bad contrast and I was unable to improve it even after moving the contrast control. I get better results at 25º, so I will install the film using that angle.
Now we are going to measure and cut the film. To measure it, I rotate it 25º and thanks to the fact that it is transparent, it is possible to draw a point per corner. From those points, I cut it with the help of a ruler.
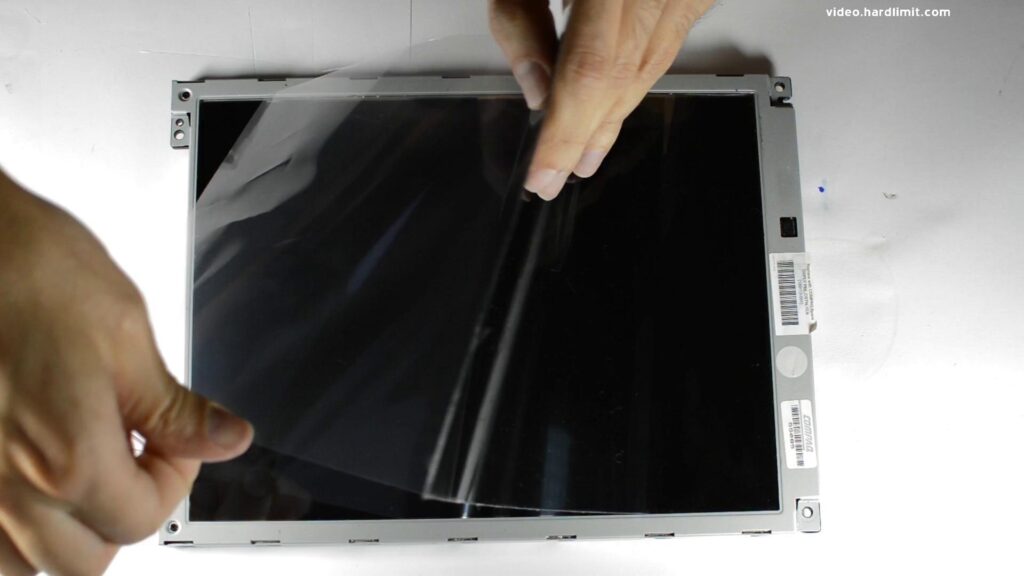
We stick the new film
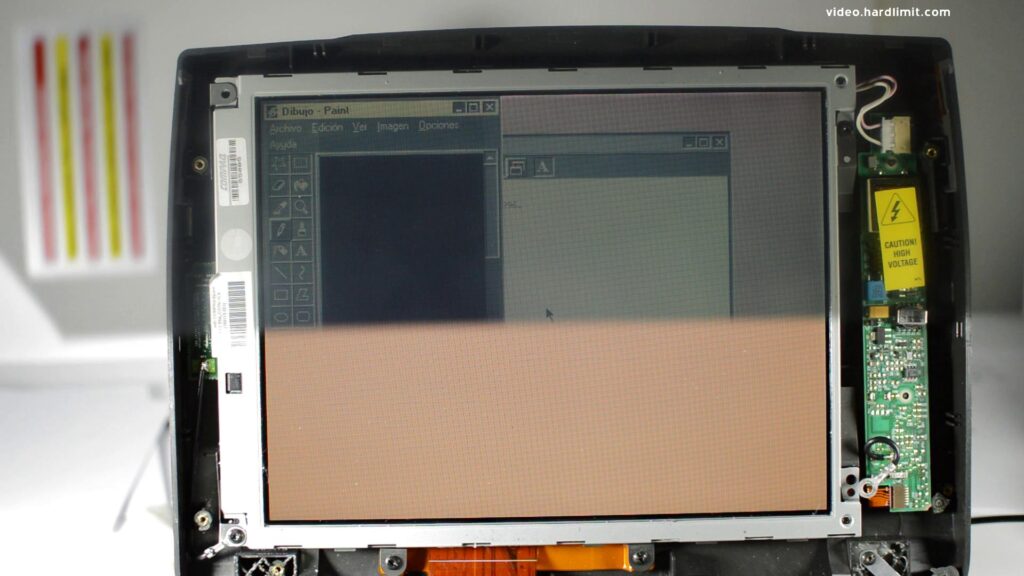
The final step is to stick the filter on the glass substrate. It is a pretty delicate step since we have to make sure there aren’t any air bubbles between the filter and the glass. The film was placed on the screen and I removed the back protecting layer very slowly while applying pressure on the contact surface.
The result is far from being perfect. On the one hand, I was unable to keep the air out of the filter so some air bubbles have remained inside. On the other hand, the image has a reddish hue. I don’t know why this happened. Maybe I broke something during the scraping process.
Nevertheless, it is usable again.
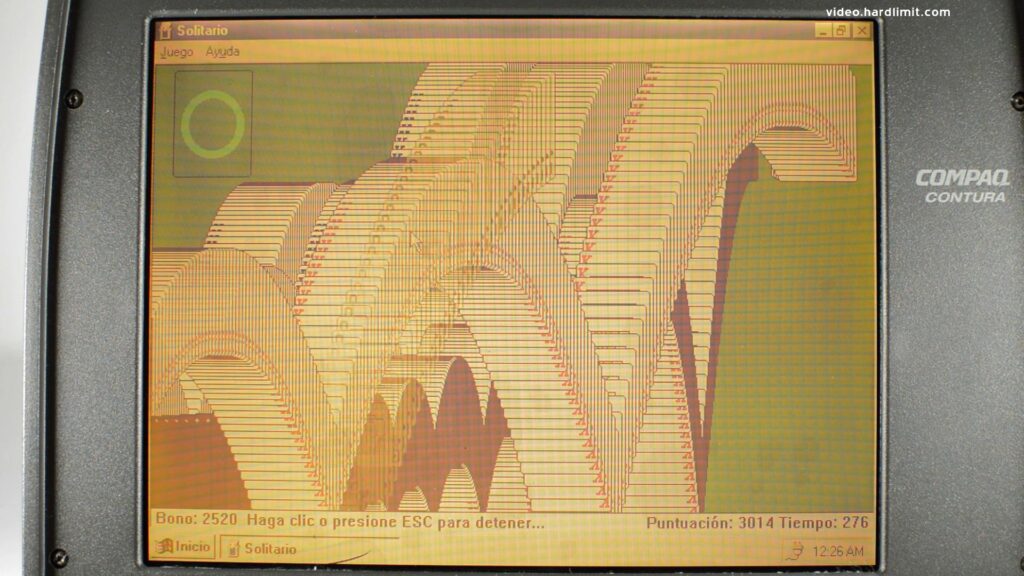
To conclude, we are going to re-use for the first time this screen by playing a classic.